Starting and Logging In
Join a Meeting – Guest Mode
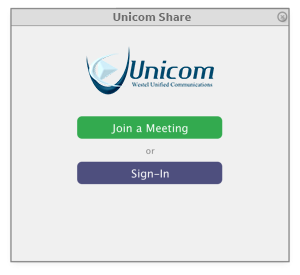
Any user can start the desktop client and simply ‘Join a Meeting’ in Guest mode. This will allow a user to join any meeting that is taking place without needing to sign-in.

On the following screen, enter the Meeting Number or the Meeting Alias, the name you’d like others in the meeting to see and your eMail address. Click on “Test Audio Setup” if you’ve not been in the client before otherwise, click on “Join Meeting” to enter the meeting. There are also check boxes to control your Mic and Camera on entry to the meeting.

Registered User
Registered users (users with a valid login) should click on the Sign-In button as seen in the following screen shot:

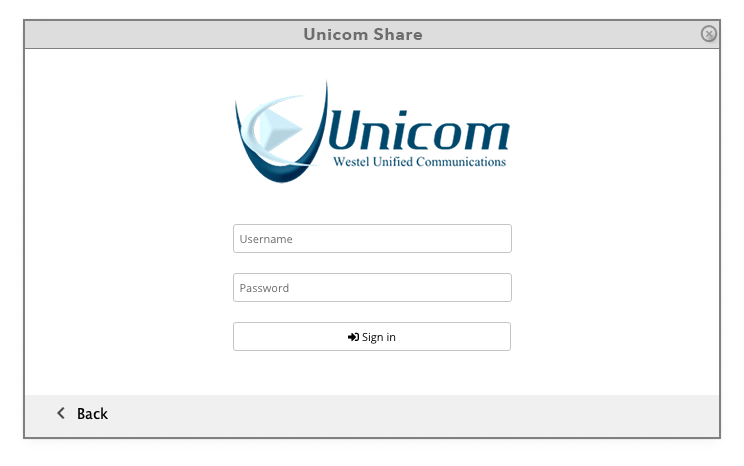
Enter your Login Name and password. If you’d like the client to remember your password, click on the “Remember password” check box. If you’d like to bypass this screen each time starting the client, click on the “Auto Login” button. Click “Login” to log into your community. On the right hand side of the box is the Single Sign On (SSO) area. If your community uses LDAP, Shibboleth, Google, etc. to authenticate, click on the appropriate ‘Sign on with…’ button.

The “Forgot your Password?” link will let you reset your password should you forget it. The ‘Auto Sign-In’ will bypass this page and use the email and password you entered each time you start the desktop client.
Single Sign On
If you are using SSO, the first time through you’ll need to enter your community name (established by your Community’s Customer Manager).

After you enter your company domain click on the Continue button and then you’ll be prompted to enter your userid and password.

After you enter your valid username and password, the desktop client will continue to login to your Community.